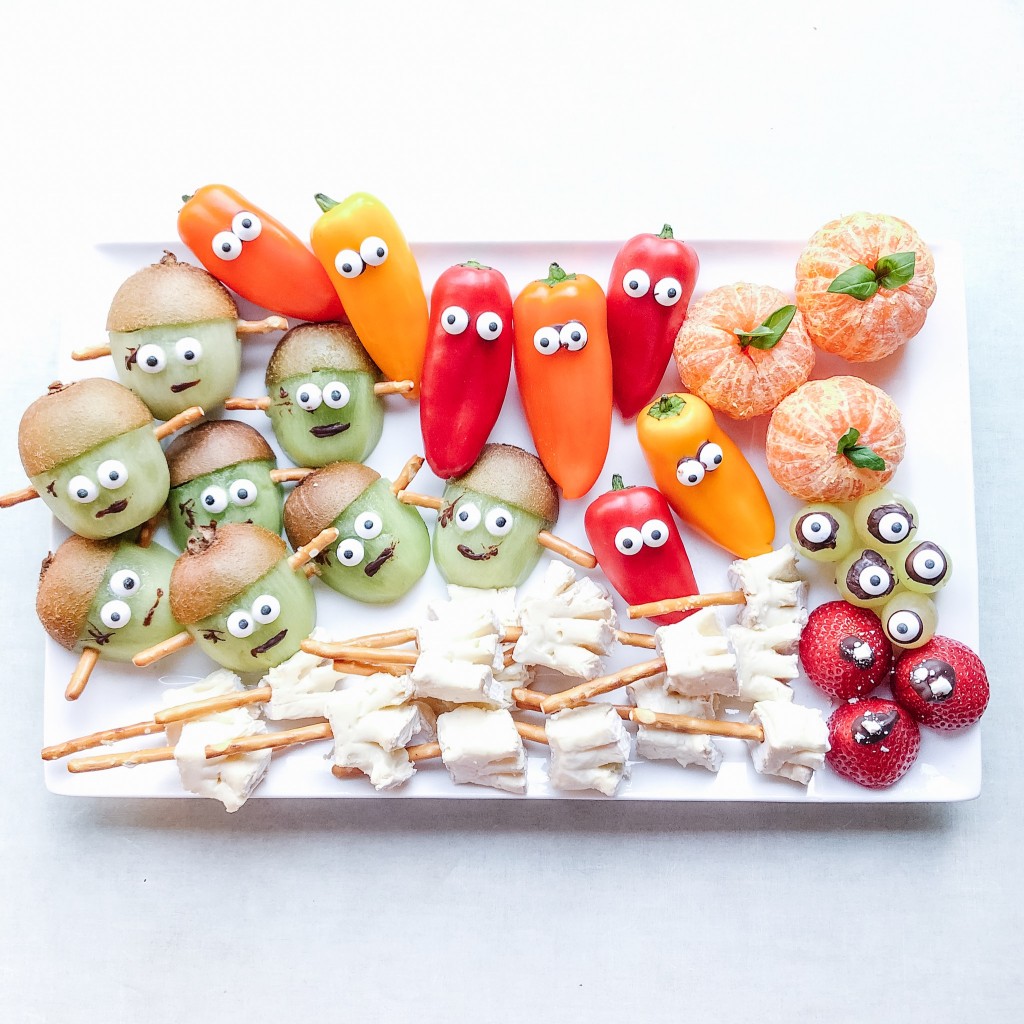
 Happy Halloween Friends!
I’m so excited to share some of the Halloween theme food I’ve been inspired to make this year. Theme food is my JAM! I’m not going to lie, making all of these platters and treats for the first time took a little bit longer than I thought, but I was so happy with the end product it was definitely worth the work involved!
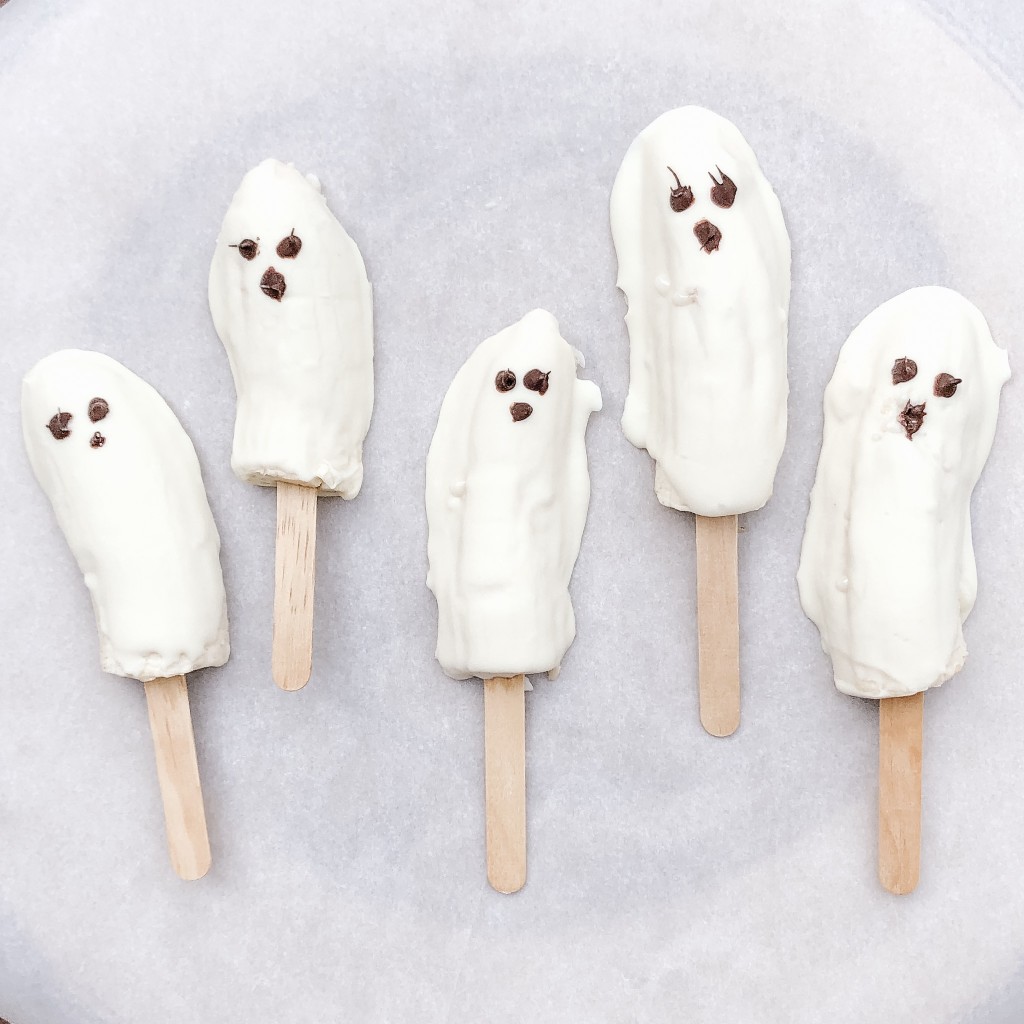
DIY TREAT #1: BOO-NANAS 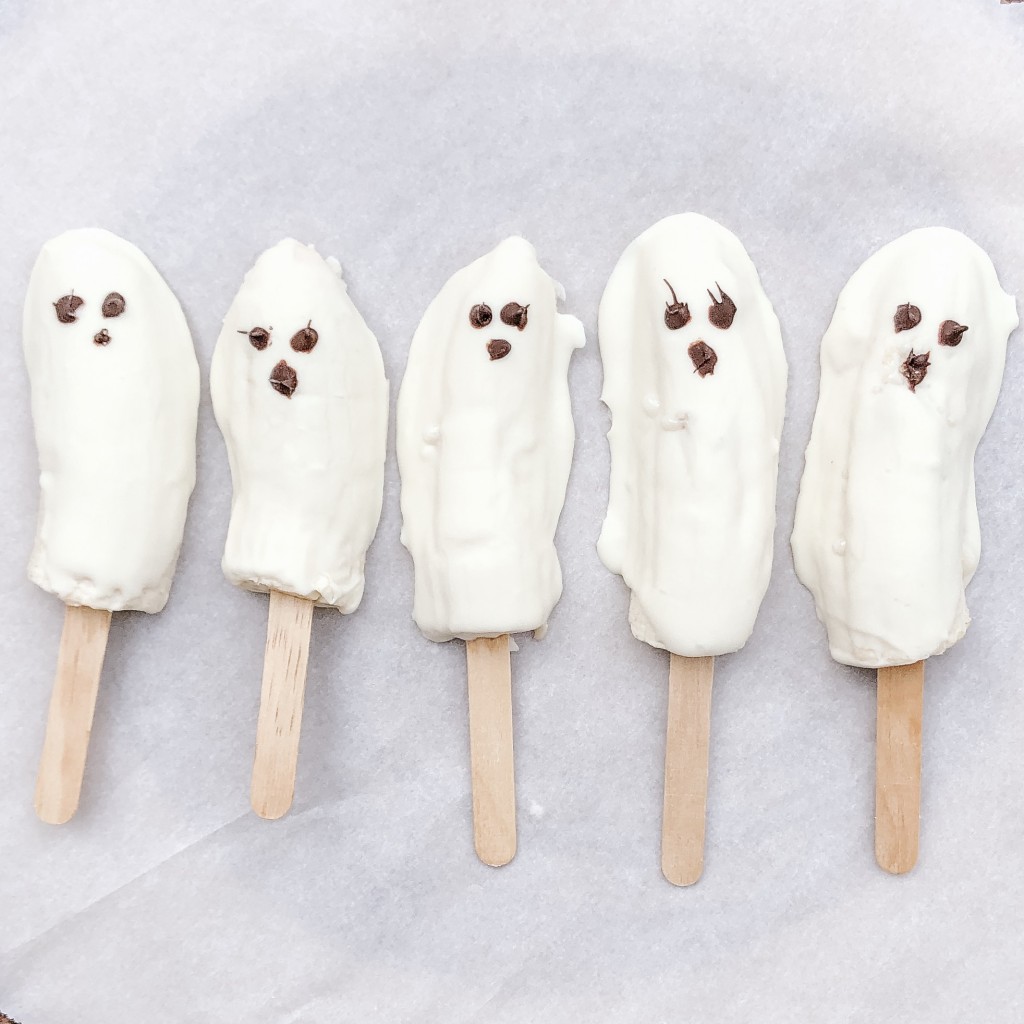
Here’s what you need:
- 3-4 bananas
- 1.5-2 cups white melting chocolates (or vanilla Greek yogurt)
- 1.5 Tbsp coconut oil
- 1/4 cup chocolate chips or melting chocolate + 1 tsp coconut oil
- 6-8 popsicle sticks
- parchment paper lined tray.
- Cut the peeled bananas in half and insert a popsicle stick in each half (*optional step to FREEZE bananas ahead of time on the parchment paper lined tray for 1 hour++).
- Melt the white chocolate with the coconut oil in the microwave safe bowl or on the stovetop over medium low heat. Stir often to ensure it doesn’t burn or get too hot (if this happens, you’ll notice the texture starts to change and it becomes lumpy – basically not-usable!!). If you’re using the microwave, melt in 30-45 second intervals.
- Use the same process to melt the chocolate chips. Remove the chocolate from the heat and pour into a tall glass to make the dipping process easier.
- Dip each banana half into the white chocolate (if the bananas are frozen, the chocolate should freeze).
- Use a chopstick, toothpick or a small paint brush to make the eyes and mouth.
- Store in the freezer until ready to eat.
DIY TREAT #2: GHOST PB & J CUPS!
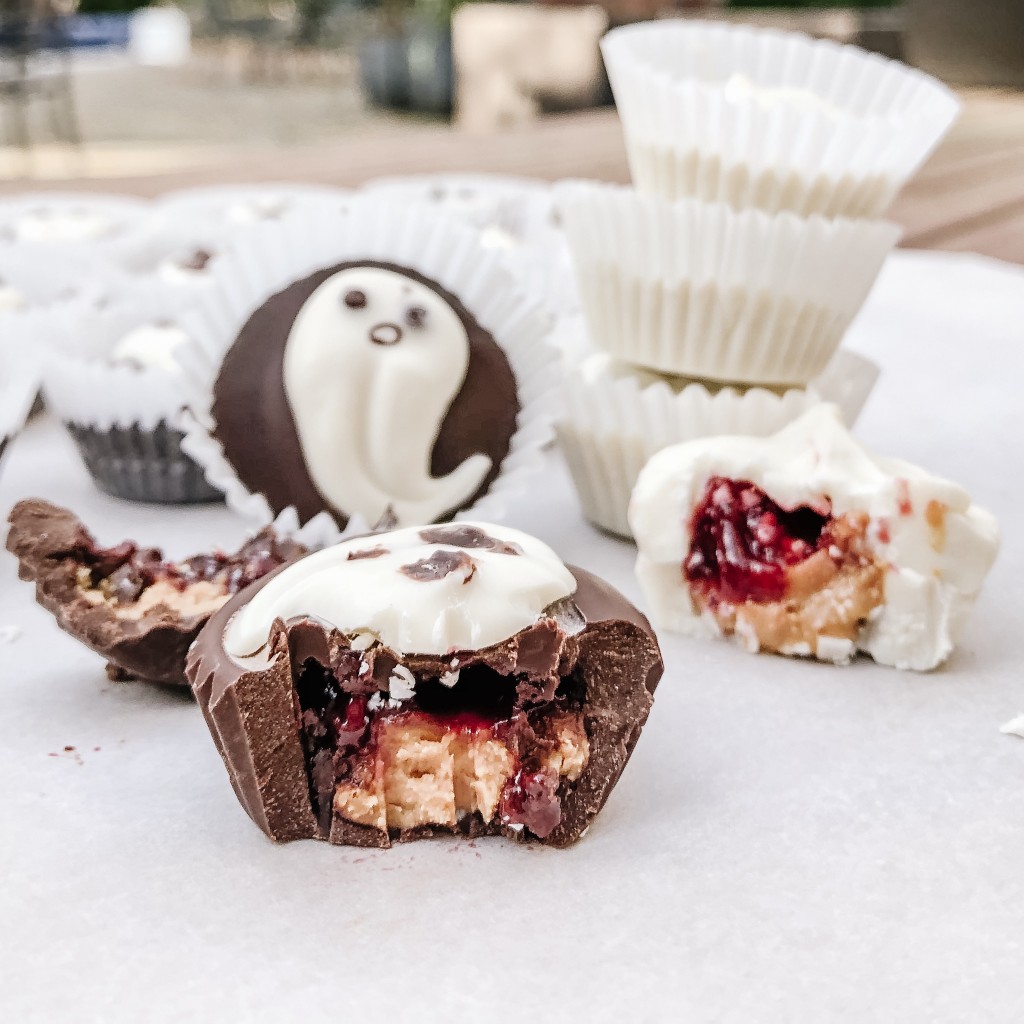 These are a little more labour intensive, but if you’ve got a big pot of melting chocolate happening you might as well make a few different treats right?!?! To mimic the classic PB cup, I stuck with classic chocolate and peanut butter, but added some jam (also singing the Galantis tune “Peanut Butter Jelly” while making these helps the process go faster ;)).
Here’s what you need:
- mini muffin tin paper or silicone liners
- 1.5-2 cups dark or semi-sweet chocolate chips (or white chocolate if preferred)
- 1-2 Tbsp coconut oil
- 1/3 cup nut or seed butter of choice (I used natural peanut butter)
- 1/4 cup jam of choice (I used a double fruit raspberry jam)
- 1/2 cup white melting chocolates + 2 tsp coconut oil
Directions
- Line a mini muffin tin with the liners.
- Melt the chocolate chips and with the coconut oil using the microwave (30-45 sec intervals) or stovetop over medium low heat. Again, ensure it doesn’t get too hot or burn. Stir often. Use the same process to heat the white chocolate.
- Pour a spoonful of the melted dark chocolate to form the base layer (doesn’t have to be exact, about 1/4 to 1/3 full).
- Drop approximately 1 tsp of peanut butter in the centre of each cup. *You may want to heat up the peanut butter a little to make this process easier.
- Drop another 1/2 to 1 tsp of jam over the peanut butter.
- Add another spoonful of dark chocolate to cover the jam & peanut butter cup.
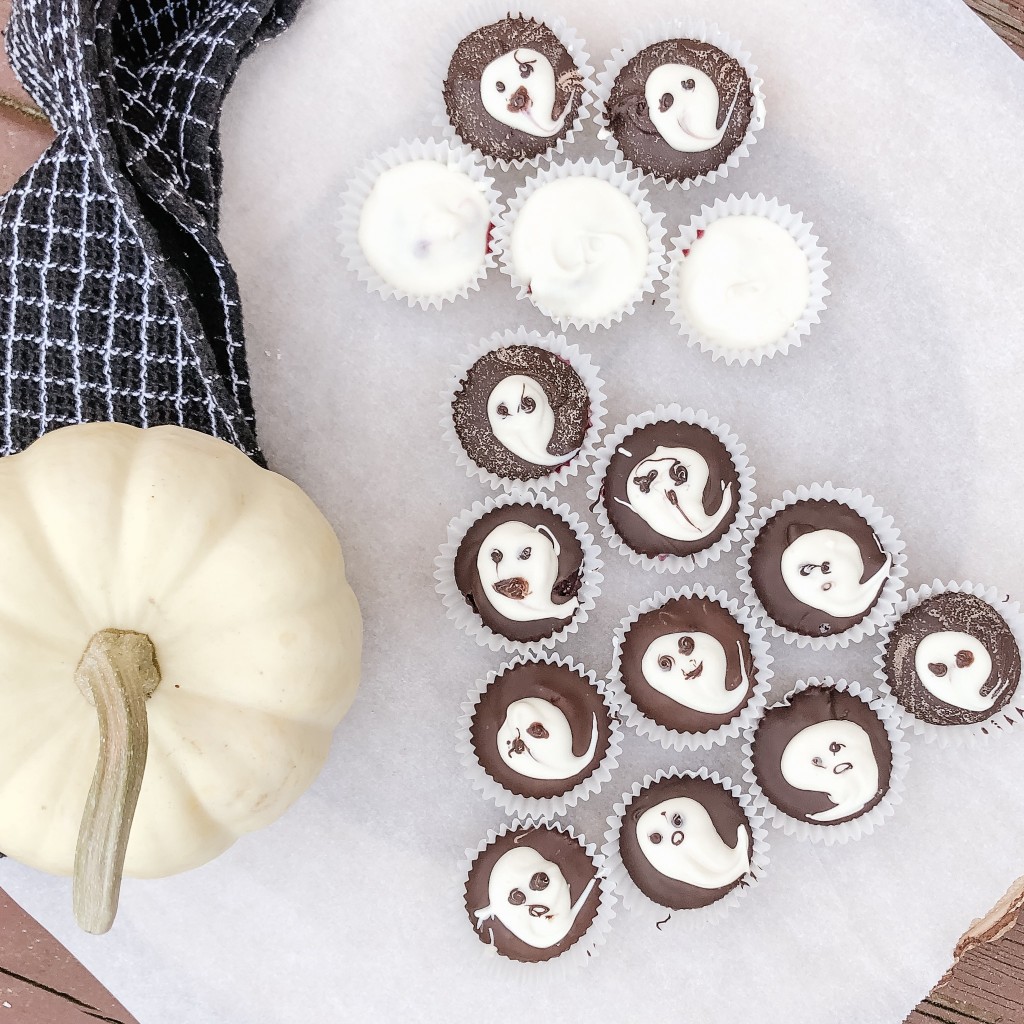
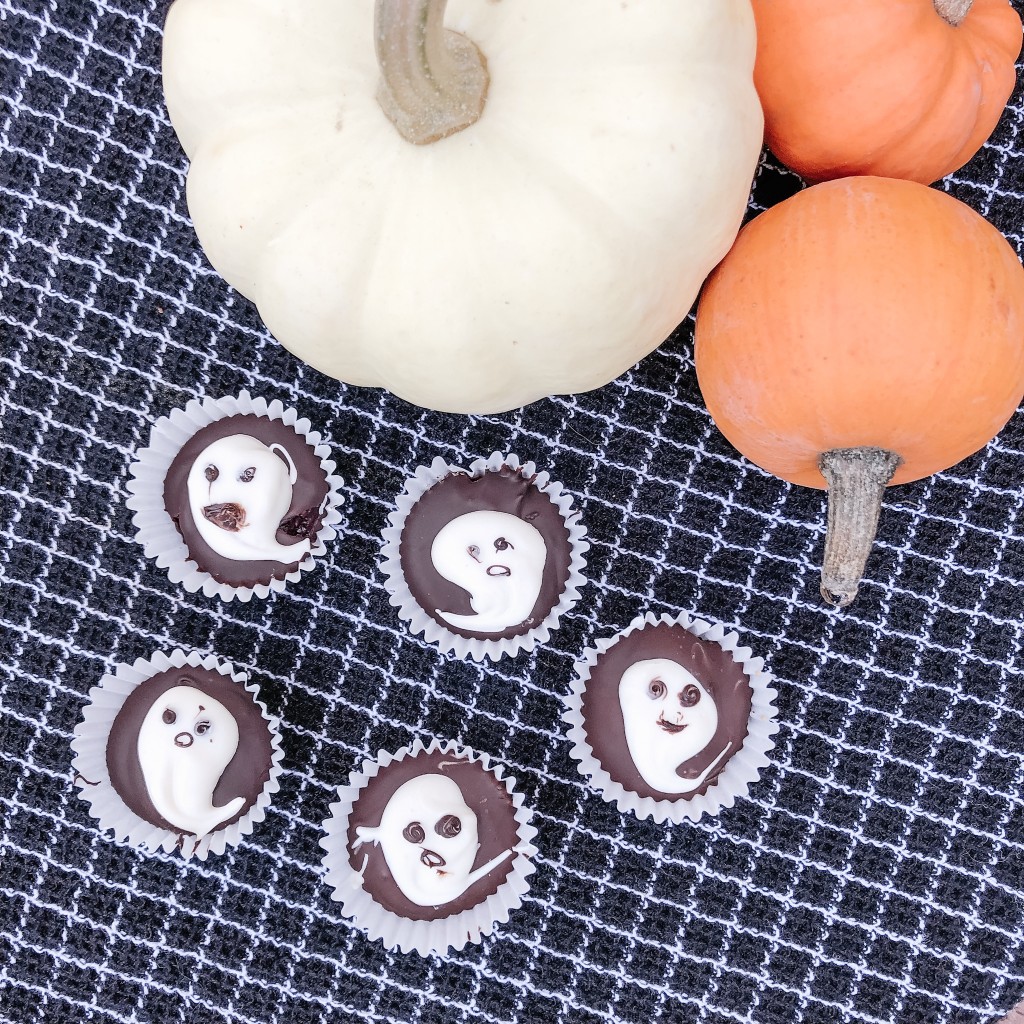
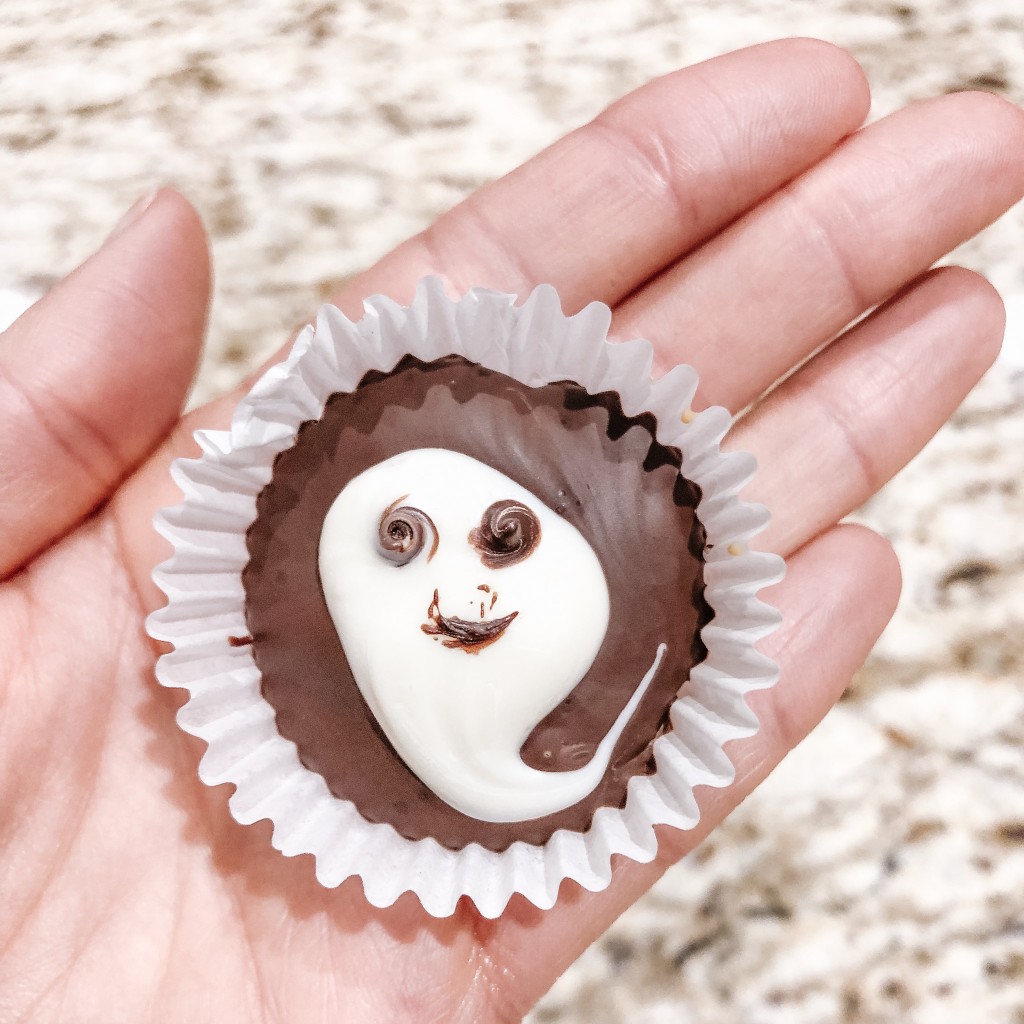
- Immediately place 1/2 teaspoon of white chocolate into the centre of the cup. Use a toothpick to draw through the white chocolate to make a ghost shape. Repeat with the remaining chocolate cups.
- Using another toothpick, dot melted dark chocolate with the tip of the pick to make eyes for each ghost and repeat. These will set on the counter or you can place them in the freezer for 10 minutes to set before eating!
DIY TREAT #3: HALLOWEEN THEME COOKIES!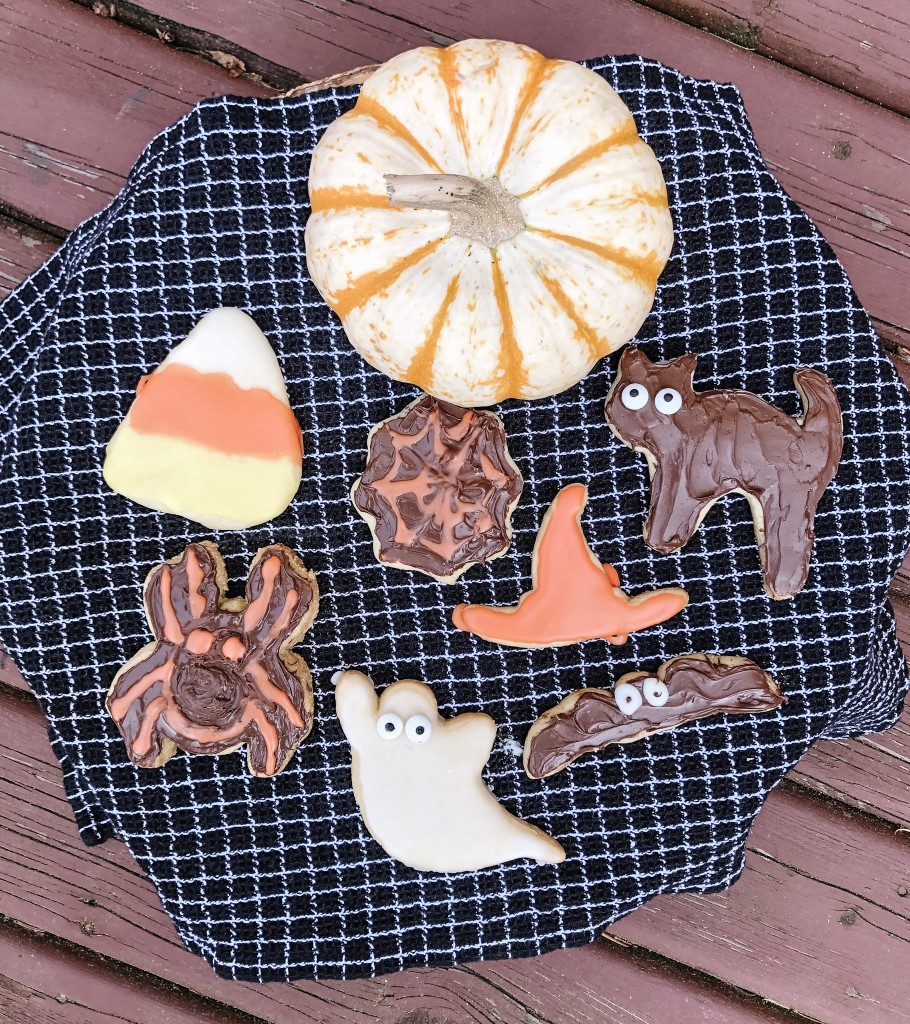 I used a healthier sugar cookie recipe from Chocolate Covered Katie as well as a GRAIN FREE sugar cookie recipe to compare. I really enjoyed them both 🙂 I used a vegan butter and found that the dough did get a bit sticky at room temperature, so I definitely recommend freezing the dough before rolling and baking!
I couldn’t bring myself to buy black icing/frosting – plus it’s so GROSS when it gets all over your teeth!! I happened to have a jar of NUTELLA on hand thanks to my mom – which made the perfect substitute to decorate the cat, spider and bat shapes!
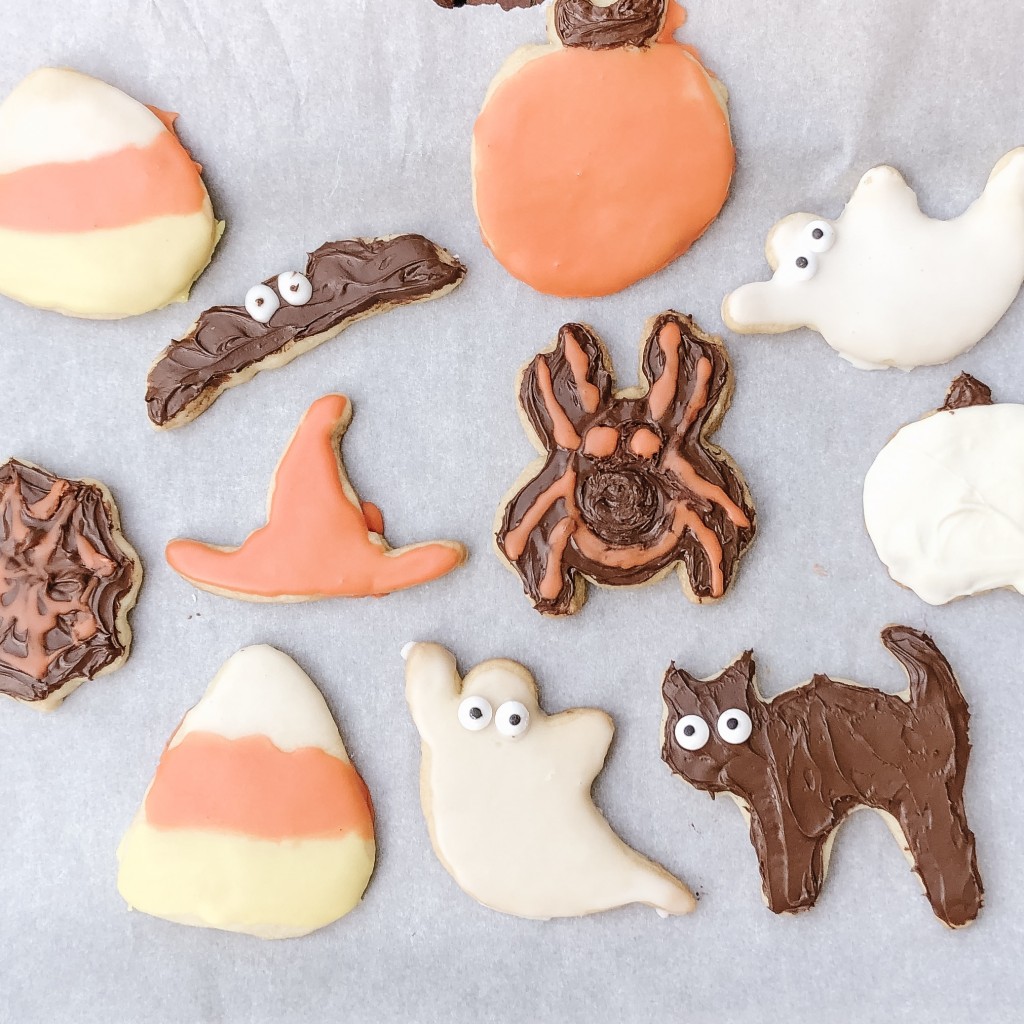
My cookie decorating isn’t perfect, but it’s a lot of FUN!
TIP – make the white royal icing first (basically just white powdered sugar and 1-2 Tbsp of milk whisked together). Add the yellow food colouring next and lastly the red to make the orange colour. The pre-made eyes I found at HOMESENSE, but the brand is CAKE CRAFT
HAPPY HALLOWEEN 🙂
